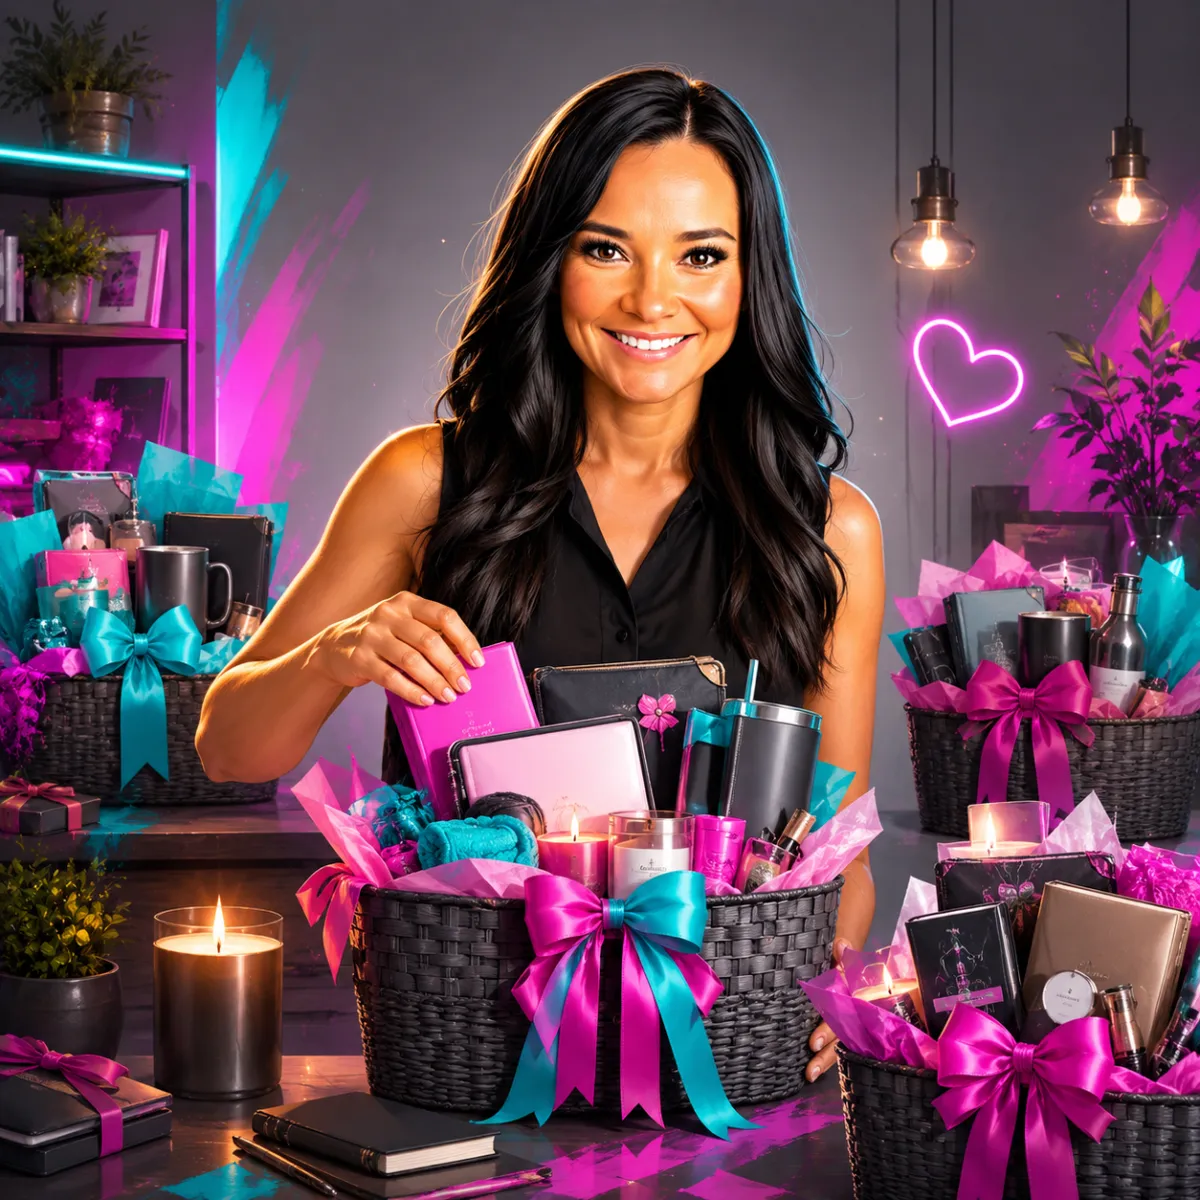
Make Gift Baskets or Bundles
Turn a Few Useful Products Into a Thoughtful Bundle People Can Give, Use, or Enjoy
Gift baskets and bundles work because they save people time.
Instead of buying five separate things, the customer gets one ready-made solution built around:
A person
An occasion
A need
A theme
A moment
That could mean:
A teacher gift
A new mom basket
A sports mom survival kit
A movie night box
A birthday bundle
A realtor closing gift
A self-care basket
A holiday gift
A local business welcome box
A college care package
A pet lover bundle
A game-day basket
A thank-you gift
A client appreciation box
You do not need to start with 20 different baskets.
Start with:
One recipient + one occasion or need + one simple bundle.
Build it.
Price it.
Package it.
Photograph it.
Then offer it for sale.

The Opportunity
People often know they need a gift.
They just do not know:
What to buy
What goes together
How much to spend
How to package it
How to make it feel thoughtful
That creates an opportunity.
You can take a group of simple products and turn them into a complete experience.
The value is not just the items.
The value is:
Selection + Convenience + Presentation
What Is a Gift Basket or Bundle?
For this Win, a bundle is a group of physical products intentionally assembled and sold together.
It could be in:
A basket
A box
A tote
A bucket
A crate
A gift bag
A reusable container
Simple packaged set
The container is optional.
The bundle itself is the product.
Your Bundle Boss Win
You complete this Win when you:
Choose one recipient.
Choose one occasion or need.
Create one clear bundle concept.
Select the products.
Verify the products are appropriate to include and resell.
Calculate the true cost.
Assemble one physical sample.
Test the packaging.
Price the finished bundle.
Photograph it.
Create an order process.
Offer it for sale.
You do not need a sale to complete the Win.
Quick Overview
Category: Make
Badge: Bundle Boss
Experience Level: Beginner
Startup Cost: Under $50 possible
Time to Start: One Weekend
Work Style: From Home / Local / Online
Income Type: One-Time + Repeatable Income
First Goal: Create and offer one finished bundle
Step 1: Choose the Recipient
Who is the bundle for?
Examples:
Teachers
Moms
Dads
Brides
Grooms
Grandparents
Teens
Kids
Coaches
Employees
Clients
New homeowners
College students
Pet owners
Travelers
New parents
Nurses
Neighbors
My Recipient
Step 2: Choose the Occasion or Need
Possible:
☐ Birthday☐ Thank You
☐ New Baby
☐ Teacher Appreciation
☐ Graduation
☐ Wedding
☐ Housewarming
☐ Client Gift
☐ Employee Gift
☐ Get Well
☐ Self-Care
☐ Holiday
☐ Sports
☐ Back to School
☐ College
☐ Travel
☐ Just Because
☐ Other
My Occasion / Need
Step 3: Define the Bundle Purpose
Complete:
I am creating a [TYPE OF BUNDLE] for [RECIPIENT] to help them [NEED / EXPERIENCE].
Example:
I am creating a teacher appreciation box for parents who want an easy, thoughtful end-of-year gift.
My Bundle Statement
Step 4: Pick One Theme
Possible themes:
Relax
Celebrate
Cozy
Coffee
Baking
Movie night
Game night
Sports
Local favorites
Study
Travel
New home
Wellness
Office
Gardening
Pet care
Snacks
Creative
Spa
Breakfast
My Theme
Step 5: Keep the Bundle Focused
A beginner bundle may only need:
3 items
4 items
5 items
You do not need 15 products.
Ask:
Does every item support the same recipient, occasion, or experience?
Step 6: Choose the Anchor Product
The anchor is usually the item that gives the bundle its identity.
Examples:
Mug
Blanket
Candle
Journal
Tumbler
Cutting board
Baby item
Tote
Book
Water bottle
Anchor Product
Step 7: Choose Supporting Product #1
Product
Why It Belongs
Step 8: Choose Supporting Product #2
Product
Why It Belongs
Step 9: Choose Supporting Product #3
Product
Why It Belongs
Step 10: Optional Product #4
Product
Why It Belongs
Step 11: Remove Random Fillers
Ask about every item:
☐ Recipient would realistically use it.☐ It fits the theme.
☐ It improves the overall bundle.
☐ It supports the selling price.
☐ It is not included just to make the basket look full.
If not, remove it.
Step 12: Decide Whether to Include Food
Food can make bundles more appealing.
But it also adds more responsibility.
Examples:
Candy
Coffee
Tea
Popcorn
Cookies
Snacks
Hot chocolate
Packaged treats
If including food, verify:
Packaging is intact
Product is within date
Allergen information remains visible
Storage requirements
Shipping limitations
Applicable local rules
Do not repackage food casually.
Step 13: Be Especially Careful With Allergens
Common allergens can include:
Peanuts
Tree nuts
Milk
Eggs
Wheat
Soy
Fish
Shellfish
Sesame
Do not make claims such as:
Nut-free
unless you can actually support them.
Keep original labeling whenever possible.
Step 14: Decide Whether to Include Alcohol
Alcohol creates significant legal, licensing, shipping, and age-verification issues.
For a beginner Bundle Boss product:
Skip alcohol unless you fully understand and comply with the applicable rules.
A non-alcoholic bundle is much simpler.
Step 15: Decide Whether to Include Beauty or Personal-Care Products
Possible:
Lotion
Soap
Lip balm
Bath products
Keep:
Original packaging
Ingredient information
Instructions
Safety information
Avoid repackaging or making medical claims.
Step 16: Decide Whether to Include Candles
Candles can work well in gift boxes.
If included:
☐ Original warning label retained☐ Product undamaged
☐ Fragrance clearly identified
☐ Packaging protects glass if applicable
☐ Shipping temperature/handling considered
Step 17: Review Children's Products
If intended for children:
Review:
Age labeling
Small parts
Safety warnings
Product recalls
Original packaging
Do not remove important warnings.
Step 18: Decide New vs Handmade vs Mixed
Your bundle may contain:
☐ New retail products☐ Handmade products
☐ Products made by me
☐ Products from local makers
☐ A mixture
My Bundle
Step 19: Review Product Resale Rights
Before including branded or third-party products:
Ask:
☐ Product was acquired lawfully.☐ Original branding is not altered misleadingly.
☐ Product is represented accurately.
☐ I am not claiming brand affiliation.
☐ Marketplace rules allow the intended listing.
Step 20: Review Product Condition
Every item should be:
☐ New if represented as new☐ Clean
☐ Undamaged
☐ Unexpired when relevant
☐ Sealed when expected
☐ Correctly labeled
☐ Free from obvious defects
Step 21: Record the Source of Each Product
ItemSupplier / SourceUnit CostAnchorItem 2Item 3Item 4Item 5
Step 22: Look for Small-Quantity Sourcing
For your first bundle, consider:
Retail clearance
Dollar stores
Craft stores
Wholesale sample orders
Local makers
Bulk marketplaces
Existing inventory
Do not buy 100 units before testing one bundle.
Step 23: Consider Local Makers
A local bundle could feature:
Coffee
Soap
Candles
Snacks
Honey
Art
Stationery
Small gifts
This can create a strong local story.
Step 24: Consider Wholesale Later
Wholesale can improve margins.
But it also creates:
Minimum quantities
Storage
Cash tied up
Inventory risk
Test first.
Step 25: Choose the Container
Possible:
☐ Gift box☐ Basket
☐ Tote
☐ Crate
☐ Bucket
☐ Gift bag
☐ Mailer box
☐ Reusable container
☐ No container
My Container
Step 26: Test Container Size
Your container should be:
Large enough
Not excessively large
Easy to arrange
Easy to package
Appropriate for the price
Container Dimensions
Step 27: Choose Filler
Possible:
Crinkle paper
Tissue
Shredded paper
Fabric
Reusable towel
Other packing material
Filler
Step 28: Avoid Overfilling
Too much filler can make the bundle look cheaper rather than more valuable.
Use enough to:
Support products
Improve presentation
Protect items
Step 29: Choose the Presentation Style
Possible:
Open basket
Closed gift box
Window box
Clear wrap
Gift bag
Mailer box
Tissue-wrapped set
Presentation
Step 30: Choose the Color Palette
Main Color
Supporting Color
Accent
Coordinate:
Container
Filler
Ribbon
Tag
Card
Step 31: Create the Bundle Name
Formula:
Recipient / Occasion + Experience + Bundle Type
Examples:
Teacher Thank-You Box
Cozy Night In Gift Basket
New Mom Survival Kit
College Study Break Box
Realtor Closing Gift
Game Day Fan Box
Bundle Name
Step 32: Assign the Product Code
Suggested:
GB-001
Product Code
Step 33: Create the Bundle Inventory Record
ItemQuantity Per BundleCost
Step 34: Calculate Product Cost
Formula:
Cost of every item inside the bundle
Product Cost
$________________
Step 35: Calculate Container Cost
Container
$________________
Step 36: Calculate Packaging Cost
Include:
Filler
Tissue
Ribbon
Tags
Cards
Stickers
Protective material
Packaging Cost
$________________
Step 37: Calculate Shipping Supplies
If shipping:
Shipping box
Mailer
Tape
Cushioning
Label
Shipping Supply Cost
$________________
Step 38: Calculate Platform and Transaction Costs
Fees
$________________
Verify current fees for your actual sales channel.
Step 39: Calculate Waste Allowance
Things can:
Break
Get damaged
Expire
Be misprinted
Become unusable
Waste Allowance
$________________
Step 40: Calculate Total Direct Cost
Formula:
Products + Container + Packaging + Shipping Supplies + Fees + Waste
Total Direct Cost
$________________
Step 41: Track Assembly Time
Start a timer.
Product Prep
________________ minutes
Arrangement
________________ minutes
Packaging
________________ minutes
Final QC
________________ minutes
Total
________________ minutes
Step 42: Research Comparable Bundles
Look for products similar in:
Recipient
Occasion
Number of items
Quality
Presentation
Personalization
ComparablePriceNotes
Do not compare a three-item beginner box to a premium luxury hamper.
Step 43: Choose the Selling Price
Consider:
Direct costs
Assembly time
Presentation
Convenience
Market positioning
Sales-channel fees
Selling Price
$________________
Step 44: Calculate Approximate Contribution
Formula:
Selling Price - Direct Product Costs
Approximate Contribution
$________________
This is before broader business expenses and taxes.
Step 45: Build One Real Sample
Do not launch from a concept graphic.
Assemble GB-001 physically.
Step 46: Lay Out Every Item
Before packing:
☐ Every product present☐ Correct quantity
☐ Correct variant
☐ Packaging intact
☐ Labels visible
☐ Dates checked if applicable
☐ Damage checked
Step 47: Arrange the Bundle
Place:
Largest item first
Anchor product visibly
Supporting items around it
Small items where they remain visible
Take a photo before closing the package.
Step 48: Test Product Movement
Gently move the package.
Ask:
☐ Products stay in place.☐ Glass is protected.
☐ Items do not crush one another.
☐ Presentation survives handling.
Step 49: Test the Unboxing Experience
Open GB-001 as though you are the customer.
Ask:
What do I see first?
Does it look full?
Is anything hidden?
Is it messy?
Does it feel gift-ready?
Step 50: Create a Gift Message Option
Possible:
Add a short personal gift message.
Offered?
☐ Yes☐ No
Character Limit
Step 51: Create a Gift Card
Possible copy:
A little something just for you.
or
Thinking of you.
Keep it flexible unless the bundle is occasion-specific.
Step 52: Consider Personalization
Possible:
Name on tumbler
Custom tag
Recipient name
Custom card
Company logo
Event date
Personalization Offered?
☐ Yes☐ No
Start with simple personalization.
Step 53: Limit Customization
Too many choices create operational chaos.
For GB-001, consider:
One bundle
One container
1–3 color options
One personalization field
Step 54: Create Substitution Rules
Inventory changes.
Decide:
Will you substitute products?
Possible:
☐ No substitutions☐ Equal or greater value substitutions
☐ Customer approval required
My Rule
Never silently substitute something materially different.
Step 55: Create Out-of-Stock Rules
If an item is unavailable:
☐ Pause listing☐ Offer approved alternative
☐ Contact customer
☐ Refund
My Process
Step 56: Create the Product Listing Title
Example:
Teacher Appreciation Gift Box
My Title
Step 57: Write the Short Description
Formula:
A ready-to-give [BUNDLE] created for [RECIPIENT] celebrating [OCCASION/NEED].
My Description
Step 58: List Everything Included
Example:
INCLUDES
1 insulated tumbler
1 candle
1 notebook
1 pen
1 gift card
Gift-ready packaging
Use exact quantities.
Step 59: Create the “Perfect For” Section
Possible:
Teacher appreciation
Birthdays
Thank-you gifts
Employee gifts
Client appreciation
Perfect For
Step 60: Create Product Photos
Recommended:
☐ Hero image☐ Full bundle
☐ Everything included
☐ Close-up of products
☐ Packaging
☐ Gift card
☐ Personalization
☐ Size / scale
☐ Unboxing
Step 61: Photograph the Bundle Open
Customers should clearly see what is included.
Step 62: Photograph Everything Separately
Lay out all products.
This reduces confusion about what the customer receives.
Step 63: Photograph the Finished Package
Show how it arrives or is presented.
Step 64: Create the “What's Included” Graphic
Use:
WHAT'S INSIDE
Then list the actual products.
Step 65: Create a Size / Scale Graphic
If relevant:
Container dimensions
Product dimensions
Approximate overall size
Only use verified dimensions.
Step 66: Create a Personalization Graphic
If offered:
MAKE IT PERSONAL
Then explain exactly what can be customized.
Step 67: Create the Order Process
For fixed bundle:
Order → Assemble → QC → Package → Deliver
For personalized bundle:
Order → Personalization → Assemble → QC → Package → Deliver
My Workflow
Step 68: Create the Customer Order Form
Possible fields:
☐ Customer name☐ Bundle
☐ Quantity
☐ Recipient name
☐ Gift message
☐ Personalization
☐ Required-by date
☐ Shipping / pickup
Step 69: Create the Required-By Date
Especially important for:
Birthdays
Holidays
Weddings
Teacher gifts
Corporate gifting
Required-By Field Included?
☐ Yes☐ No
Step 70: Create Processing Time
Standard Processing
Only promise a timeline you can consistently meet.
Step 71: Create Rush Rules
Rush Available?
☐ Yes☐ No
Rush Fee
$________________
Step 72: Create Local Pickup
Local pickup can be excellent for gift baskets.
Possible benefits:
No shipping
Larger baskets possible
Fragile items easier
Faster turnaround
Pickup Offered?
☐ Yes☐ No
Avoid publicly listing private home information unnecessarily.
Step 73: Decide Whether You Will Ship
Shipping changes product design.
Ask:
☐ Container fits shipping box.☐ Products are protected.
☐ Weight is manageable.
☐ Fragile items are protected.
☐ Heat-sensitive items considered.
☐ Food restrictions considered.
Step 74: Test Shipping Packaging
If shipping:
Create one complete package.
Measure:
Weight
Length
Width
Height
Step 75: Consider Heat and Weather
Products such as:
Chocolate
Candles
Cosmetics
Certain foods
may be affected by heat.
Build your product and policies accordingly.
Step 76: Create Final Quality Control
Before closing GB-001:
☐ Correct bundle☐ Correct products
☐ Correct quantity
☐ Correct personalization
☐ Correct recipient
☐ Gift message correct
☐ Products undamaged
☐ Dates checked where relevant
☐ Labels visible
☐ Food sealed
☐ Warnings retained
☐ Arrangement correct
☐ Packaging secure
☐ Customer information correct
Step 77: Create a Photo Record Before Shipping
Take a quick photo of the completed order.
Useful for:
QC
Order records
Content
Resolving issues
Do not publicly share personalized customer information without permission.
Step 78: Track Inventory by Component
Unlike a single product, one missing component can stop the entire bundle.
Track:
ComponentOn HandBundles PossibleAnchorItem 2Item 3Container
Your bundle availability is usually limited by the component with the lowest usable quantity.
Step 79: Calculate Bundles Possible
Example:
10 mugs8 candles
12 notebooks
20 boxes
You can only make:
8 complete bundles
because candles are the limiting component.
Step 80: Create Reorder Points
Set reorder points only after you understand actual demand.
Anchor Product Reorder Point
Supporting Products
Step 81: Start Small
For GB-001:
☐ Build one sample.☐ Buy enough for a small number of orders.
☐ Track demand.
☐ Restock based on evidence.
Avoid turning your house into a gift basket warehouse before the first sale.
Step 82: Explore Preorders
Preorders can help reduce inventory risk for:
Teacher Appreciation
Mother's Day
Holidays
Graduation
Corporate gifting
Example:
Orders close May 1. Pickup May 5–7.
Only use preorder timelines you can reliably fulfill.
Step 83: Create Limited Drops
Possible:
20 Teacher Thank-You Boxes Available
Limited quantities can make inventory easier to manage.
Use real quantity limits.
Step 84: Consider Corporate or Group Orders
Bundles can become especially interesting for:
Realtors
Mortgage companies
Employee appreciation
Client gifts
Event attendees
Sports teams
School staff
Conference speakers
Step 85: Create a Group Order Inquiry
Collect:
Organization
Contact
Quantity
Budget
Occasion
Required-by date
Branding
Delivery
Step 86: Create Tiered Bundle Options Later
Example:
Good
$25
Better
$40
Best
$60
But only after one version works.
Step 87: Create Optional Add-Ons Later
Possible:
Personalized item
Premium gift card
Upgraded container
Additional product
Rush
Delivery
Custom note
Step 88: Track Customer Requests
Record requests such as:
Can you make one for men?
Can you add coffee?
Do you have a $50 option?
Can you make 20 for my employees?
Can you add my logo?
Can you ship directly to recipients?
Those requests may tell you what to build next.
Step 89: Calculate a Path to $500 Gross Sales
$25 Bundle
20 sales = $500 gross
$40 Bundle
13 sales = $520 gross
$50 Bundle
10 sales = $500 gross
$75 Bundle
7 sales = $525 gross
Gross sales are not profit.
Step 90: Track Repeatability
Ask:
☐ Can I source the components again?☐ Can I assemble it consistently?
☐ Does packaging take a reasonable amount of time?
☐ Can I maintain the same quality?
☐ Can I photograph and list it accurately?
☐ Can I reorder components without buying huge quantities?
Step 91: Do Not Expand Too Quickly
Before GB-002:
☐ GB-001 is complete.☐ Cost is understood.
☐ Assembly works.
☐ Packaging works.
☐ Sourcing works.
☐ Customer experience works.
☐ Inventory is manageable.
Common Bundle Boss Mistakes
Buying Too Much Inventory
Test one bundle before buying 50 of everything.
Including Random Stuff
Every item should support the same recipient, occasion, or experience.
Ignoring Packaging Costs
Ribbon, boxes, filler, cards, and shipping supplies add up quickly.
Forgetting Assembly Time
The products may only cost $20.
But if the bundle takes 45 minutes to create, that matters.
Making the Basket Too Large
A bigger basket can mean:
More filler
More shipping
More storage
More cost
A smaller, well-curated bundle can feel more premium.
Silent Substitutions
If the photo shows one product, do not quietly replace it with something meaningfully different.
Hiding What Is Included
Show the exact products clearly.
Using Expired Food
Check dates before every order.
Removing Product Labels
Keep relevant:
Ingredients
Allergens
Safety warnings
Instructions
Manufacturer information
Over-Customizing
Every color, scent, snack, product, message, and container does not need to be customizable.
Start simple.
Make It Easier With AI
AI can help you:
Brainstorm bundle ideas
Match products to recipients
Create bundle names
Research questions
Develop product descriptions
Write order forms
Create gift card wording
Create corporate outreach
Analyze customer requests
Build inventory spreadsheets
Calculate bundle math
AI should not invent:
Ingredient information
Allergen claims
Product expiration
Safety information
Shipping restrictions
Current marketplace rules
Product resale rights
Actual product costs
Actual availability
Bundle Boss AI Planning Prompt
Help me create one simple customer-ready gift basket or bundle.Occasion or need:
[OCCASION]
Theme:
[THEME]
Anchor product:
[PRODUCT]
Supporting products:
[PRODUCTS]
Food included:
[YES/NO + DETAILS]
Personal-care products:
[DETAILS]
Container:
[CONTAINER]
Filler:
[FILLER]
Presentation:
[STYLE]
Personalization:
[DETAILS]
Product costs:
[COSTS]
Container cost:
[COST]
Packaging cost:
[COST]
Assembly time:
[TIME]
Sales channel:
[CHANNEL]
Shipping or pickup:
[DETAILS]
Proposed price:
[PRICE]
Help me create:
1. Bundle concept
2. Recipient fit
3. Occasion fit
4. Product-selection review
5. Items that do not belong
6. Safety or labeling questions
7. Product-resale questions
8. Sourcing checklist
9. Container plan
10. Presentation plan
11. Assembly order
12. Quality-control checklist
13. Inventory structure
14. Component reorder plan
15. Substitution rules
16. Out-of-stock process
17. Direct-cost worksheet
18. Pricing review
19. Product title
20. Short description
21. What's-included section
22. Product image plan
23. Personalization fields
24. Order form
25. Processing workflow
26. Shipping/pickup checklist
27. Group-order opportunity
28. Five possible add-ons
29. What NOT to create yet
30. Five next actions
Do not invent product ingredients, allergen information, safety claims, expiration dates, shipping rules, marketplace policies, resale rights, current supplier pricing, or product availability.
Clearly identify anything requiring current research or physical testing.
Bundle Boss Challenge
☐ Choose one recipient.☐ Choose one occasion or need.
☐ Choose one theme.
☐ Choose one anchor product.
☐ Choose 2–4 supporting products.
☐ Remove random fillers.
☐ Review product condition.
☐ Review resale considerations.
☐ Review safety/labeling issues.
☐ Choose the container.
☐ Choose filler.
☐ Assemble GB-001.
☐ Test the presentation.
☐ Test the unboxing.
☐ Calculate product cost.
☐ Calculate packaging cost.
☐ Track assembly time.
☐ Research comparable bundles.
☐ Select the selling price.
☐ Create substitution rules.
☐ Create quality control.
☐ Photograph the finished bundle.
☐ Photograph everything included.
☐ Create the listing.
☐ Create the order process.
☐ Test shipping or pickup if applicable.
☐ Track component inventory.
☐ Offer GB-001 for sale.
Your Next Action
Complete:
I am creating a __________________ bundle for __________________ to help them __________________.
Then assign it:
GB-001
and assemble one real physical sample.
That is your first step toward earning the Bundle Boss badge.


