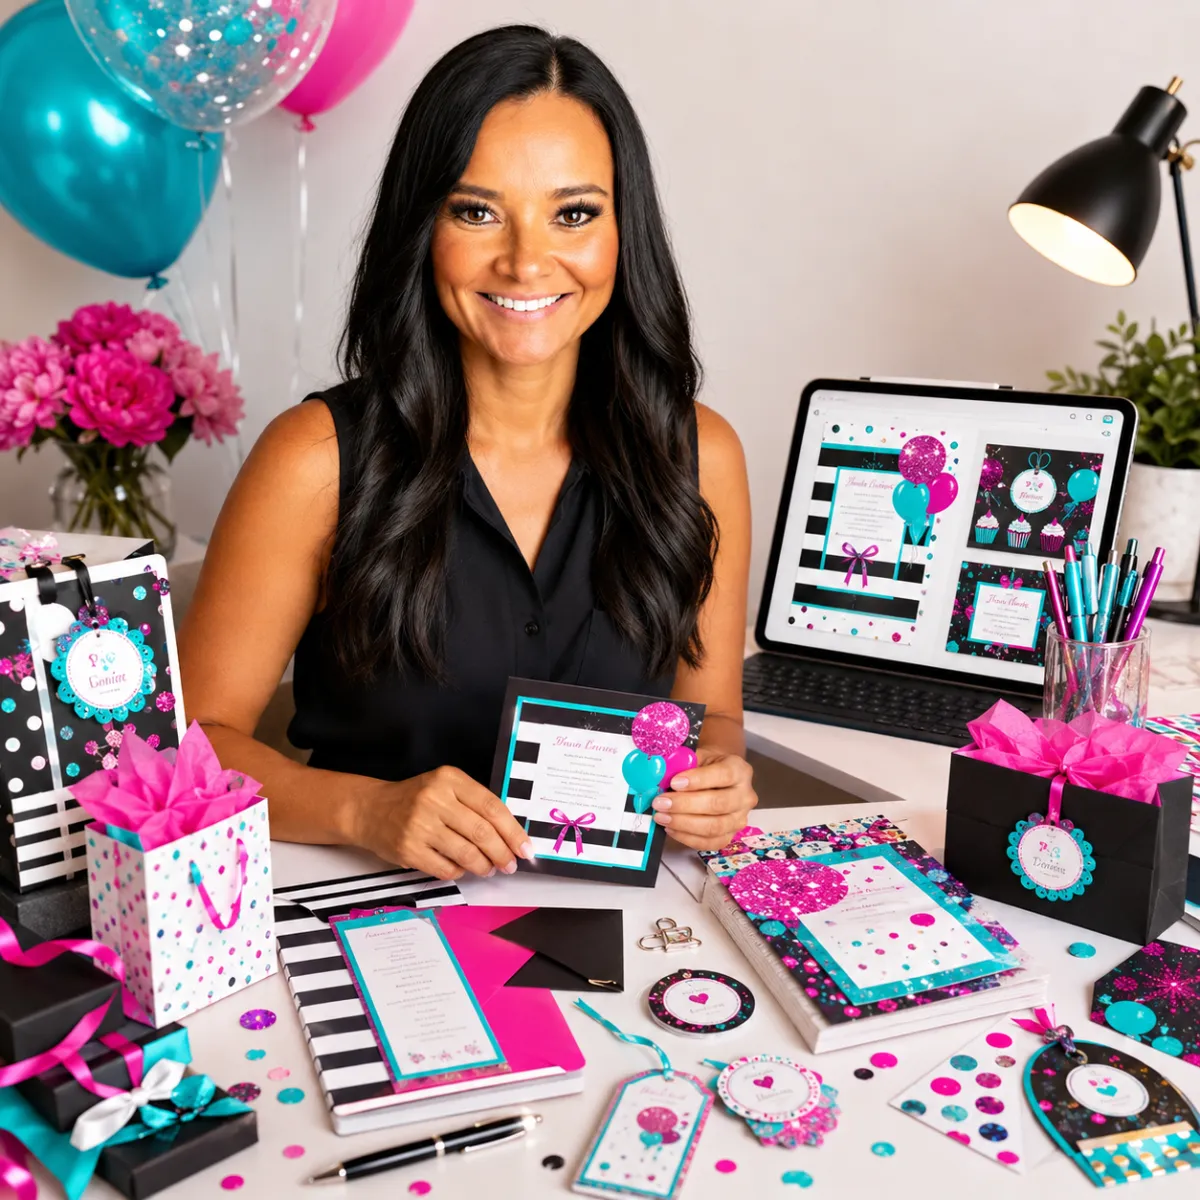
Make Party Printables
Turn Simple Designs Into Printable Party Products People Can Use for Birthdays, Showers, Celebrations, and Events
Party printables sit right at the intersection of creativity, convenience, and celebration.
People planning birthdays, baby showers, weddings, graduation parties, school events, holiday gatherings, and other celebrations often need dozens of small pieces:
Signs
Tags
Games
Labels
Favor cards
Invitations
Table décor
Food labels
Thank-you cards
Activity sheets
You do not need to create an entire party collection to complete this Win.
Start with:
One event + one audience + one useful printable product.
Create it.
Test it.
Print it.
Package or deliver it correctly.
Then offer it for sale.

The Opportunity
Party hosts often have a long list of small things to prepare.
They may need:
Welcome signs
Drink labels
Favor tags
Games
Table signs
Food labels
Thank-you cards
Each item may seem small.
But together they help create a complete event.
That creates an opportunity for you to make simple, useful products that save the host time.
What Is a Party Printable?
For this Win, a party printable is a designed item intended to be printed and used as part of an event.
Examples include:
Signs
Welcome signs
Dessert table signs
Gift table signs
Guest book signs
Cards and gifts signs
Photo booth signs
Table Products
Food labels
Drink labels
Place cards
Table numbers
Tent cards
Menu cards
Party Games
Baby shower games
Bridal shower games
Birthday trivia
Would You Rather
Bingo
Scavenger hunts
Guessing games
Favor Products
Favor tags
Treat bag toppers
Thank-you tags
Bottle labels
Cupcake toppers
Activities
Coloring sheets
Children's activity pages
Word searches
Mad Lib-style activities
Trivia sheets
Invitations and Cards
Invitations
RSVP cards
Thank-you cards
Save-the-date cards
Event inserts
For your first product, choose one.
Your Party Printable Win
You complete this Win when you:
Choose one event or celebration.
Choose one specific printable.
Create the design.
Verify the wording and information.
Choose the finished size.
Test print it.
Review readability and print quality.
Create customer-ready files or a physical finished product.
Price it.
Create a listing or order process.
Offer it for sale.
You do not need a sale to complete the Win.
Quick Overview
Category: Make
Badge: Party Printable
Experience Level: Beginner
Startup Cost: Under $25 possible
Time to Start: One Weekend
Work Style: From Home / Online / Local
Income Type: One-Time + Repeatable Income
First Goal: Create and offer one tested party printable
Step 1: Choose the Event
Start with one occasion.
Examples:
Birthday
Baby shower
Bridal shower
Wedding
Graduation
Retirement
Anniversary
Holiday party
Sports banquet
School celebration
Family reunion
Memorial
Fundraiser
Corporate event
My Event
Step 2: Choose the Audience
Who is planning or attending the event?
Examples:
Moms
Brides
Grandparents
Teachers
Coaches
Parents
Event planners
Small businesses
Families
My Buyer
Step 3: Identify One Problem
Ask:
What is one small thing this host needs to create, print, display, hand out, label, organize, or entertain guests with?
Examples:
Guests need directions.
Food needs labeling.
Kids need an activity.
Guests need a game.
Favors need tags.
Tables need numbers.
The host needs invitations.
Problem
Step 4: Choose One Printable
Do not start with a 40-piece bundle.
Choose one.
Examples:
☐ Welcome sign☐ Favor tag
☐ Party game
☐ Food label
☐ Table number
☐ Invitation
☐ Thank-you card
☐ Cupcake topper
☐ Activity sheet
☐ Bottle label
☐ Other
My Printable
Step 5: Decide Whether It Is Editable
Your product may be:
Fixed
The customer receives the exact design.
Personalized by You
The customer provides details and you customize it.
Customer Editable
The customer edits selected fields using an approved platform or template.
My Product
☐ Fixed☐ Personalized by me
☐ Customer editable
Keep Product #1 simple.
Step 6: Define the Product
Complete:
I am creating a [PRINTABLE] for [EVENT] to help [AUDIENCE] with [NEED].
Example:
I am creating a baby shower game for shower hosts who need a simple activity for guests.
My Product Statement
Step 7: Choose the Finished Size
Examples:
5 × 7
8 × 10
11 × 14
8.5 × 11
4 × 6
2 × 3.5
Custom label size
Finished Size
Choose the size based on how the item will actually be used.
Step 8: Decide How It Will Be Printed
Possible:
☐ Home printer☐ Office printer
☐ Local print shop
☐ Online printer
☐ Customer prints it
☐ I print and ship it
Printing Method
Step 9: Choose the Paper or Material
Possible:
Standard paper
Cardstock
Photo paper
Sticker paper
Label stock
Adhesive paper
Specialty cardstock
Material
If selling a digital printable, recommend rather than guarantee a paper unless you have tested it.
Step 10: Choose the Design Style
Possible:
Modern
Minimal
Elegant
Rustic
Colorful
Child-friendly
Vintage
Floral
Sports
Retro
Luxury
Whimsical
Style
Step 11: Choose a Simple Color Palette
Start with:
2–4 main colors
Neutral background when useful
Strong contrast for text
Color 1
Color 2
Color 3
Optional Color 4
Step 12: Choose the Typography
Your design may need:
Headline Font
Supporting Font
Body Font
Use fewer fonts rather than more.
Step 13: Review Font Licensing
Before selling:
☐ Font source recorded☐ Commercial-use terms reviewed
☐ Template use reviewed if applicable
☐ License documentation saved when useful
Step 14: Review Graphic Licensing
If using:
Clip art
Illustrations
Backgrounds
Icons
Patterns
Photos
Design elements
verify the rights for the intended product.
Graphic Source
Commercial Use Reviewed?
☐ Yes☐ No
Step 15: Avoid Protected Themes
Be cautious with:
Disney
Marvel
Pokémon
NFL
MLB
NBA
College logos
Cartoon characters
Celebrities
Movie themes
TV characters
Brand logos
Famous lyrics
A popular party theme is not automatically legal to sell.
Use original or properly licensed concepts.
Step 16: Write the Exact Copy
Create every word before finalizing the design.
Headline
Instructions
Supporting Copy
Event Information
Personalization
Step 17: Proofread
Check:
☐ Names☐ Dates
☐ Times
☐ Addresses
☐ Spelling
☐ Punctuation
☐ Grammar
☐ Instructions
☐ Numbers
☐ Game answers
For party games, verify every answer.
Step 18: Create the Design
Possible tools:
Canva
Adobe Illustrator
Adobe Photoshop
Affinity
Other design software
Design Tool
Step 19: Create the Master File
Suggested:
PP-001-MASTER-product-nameProduct Number
PP-001
Master File
Never edit the only master copy for individual customers.
Step 20: Create the Customer Version
Suggested:
PP-001-ORDER-1001-SMITHIf personalized, duplicate your master first.
Step 21: Check Margins and Safe Areas
Review:
☐ Important text is away from trim edges.☐ Nothing essential is accidentally cut off.
☐ Bleed is added when the printer requires it.
☐ Background reaches the edge when appropriate.
Step 22: Check Readability
Printables are often viewed farther away than a computer screen.
Ask:
☐ Headline is easy to read.☐ Instructions are large enough.
☐ Contrast is strong.
☐ Fonts are readable.
☐ Text is not overcrowded.
☐ Important information stands out.
Step 23: Print the First Sample
Do not rely only on the screen.
Print it.
Printer
Paper
Size
Date
Step 24: Inspect the Printed Sample
Check:
☐ Correct size☐ Correct orientation
☐ Text readable
☐ Colors acceptable
☐ Margins correct
☐ No unintended clipping
☐ Images clear
☐ Instructions understandable
☐ Finished product looks professional
Step 25: Test It at Actual Use Distance
For a sign:
Put it on a table or wall.
For a game:
Sit at a table and complete it.
For a favor tag:
Attach it to the actual favor.
For a label:
Place it on the intended product.
Ask:
Does it work in the real world?
Step 26: Test Cutting
If the product must be cut:
☐ Trim lines make sense.☐ Product size is correct after trimming.
☐ Multiple items fit efficiently on the page.
☐ Customer instructions explain cutting.
Step 27: Test Assembly
If assembly is required:
Examples:
Fold
Punch hole
Attach ribbon
Glue
Tape
Wrap around product
Insert into frame
Assembly Steps
Step 28: Test Customer Instructions
If someone else receives the file, can they figure out:
What to print?
Which paper to use?
What size?
Whether to cut?
Whether to fold?
How to assemble?
Whether the file is editable?
Instructions Clear?
☐ Yes☐ No
Step 29: Create the Final File
Common formats:
☐ PDF☐ JPG
☐ PNG
☐ Editable template link
☐ Other
Format
Step 30: Decide Resolution
For image files intended for print, make sure your export is suitable for the intended physical size.
Do not simply enlarge a low-resolution design.
Export Tested?
☐ Yes☐ No
Step 31: Check the PDF
If delivering PDF:
☐ Opens correctly☐ Correct page size
☐ Correct orientation
☐ All pages included
☐ Fonts display correctly
☐ Images display correctly
☐ Nothing is clipped
Step 32: Create Printing Instructions
Example:
PRINTINGDesigned for:
8.5 × 11 inch paper
Finished Size:
5 × 7 inches
Recommended:
Cardstock
Print:
Actual Size / 100%
Trim:
Use the crop marks provided.
Use instructions appropriate to your tested product.
Step 33: Create an Editable-Template Guide
If editable:
Explain:
How to access the template
Which fields can be edited
Which fields cannot
How to save
How to download
Which format to choose
How to print
Step 34: Test the Editable Template
Open it as though you are the customer.
Test:
☐ Link works☐ Customer can access it
☐ Editable areas work
☐ Locked design remains intact if intended
☐ Text can be changed
☐ Export works
☐ File prints correctly
Step 35: Create a Digital Delivery Folder
Suggested:
PP-00101 — READ ME
02 — PRINTABLE
03 — PRINTING INSTRUCTIONS
04 — EDITABLE LINK
05 — BONUS
Only include what applies.
Step 36: Create the Read Me File
Include:
What is included
File type
Finished size
Printing instructions
Editing instructions
Usage terms
Contact information
Step 37: Decide Whether You Sell Digital or Physical
Digital
Customer downloads and prints.
Physical
You print, finish, package, and ship or deliver.
Both
You offer separate versions.
My First Version
☐ Digital☐ Physical
☐ Both
One is enough to start.
Step 38: Calculate Digital Product Costs
Possible direct costs:
Marketplace fee
Transaction fee
Design asset cost
Software cost allocation
Personalization time
Customer support
Direct Cost
$________________
Step 39: Calculate Physical Product Costs
Include:
Paper+ Ink
+ Printing
+ Cutting
+ Packaging
+ Shipping supplies
+ Fees
+ Production time
Direct Cost
$________________
Step 40: Track Personalization Time
Average Personalization
________________ minutes
This matters if every order requires manual editing.
Step 41: Research Comparable Products
Look for genuinely comparable items.
Record:
ProductFormatPersonalizationPrice
Do not copy their creative work.
Step 42: Choose the Selling Price
Comparable Range
$________________ to $________________
Direct Costs
$________________
Production Time
Selling Price
$________________
Step 43: Define Exactly What the Customer Gets
Example:
You will receive one printable 8 × 10 welcome sign delivered as a high-resolution PDF and JPG.
My Product Includes
Step 44: Clarify What Is NOT Included
For digital products:
Example:
This is a digital product. No physical item will be shipped.
For templates:
Editing software or a free account may be required.
My Note
Step 45: Create the Product Title
Formula:
Event + Printable Type + Style or Use
Example:
Baby Shower Bingo Printable Game
My Title
Step 46: Write the Listing Description
Include:
What it is
Who it is for
What is included
File type
Finished size
Whether editable
Printing information
Personalization
Delivery method
Step 47: Create Product Images
Useful images:
☐ Hero image☐ Full design
☐ Printed sample
☐ Close-up
☐ Product in use
☐ What's included
☐ Size
☐ How it works
☐ Printing instructions
☐ Editable fields
Step 48: Photograph a Real Printed Sample
Whenever practical, show the product physically printed.
This can help customers understand:
Scale
Color
Use
Finish
Step 49: Create a “What You Get” Graphic
Example:
YOU'LL RECEIVE
1 PDF
1 JPG
8 × 10
Instant digital download
Use your actual offer.
Step 50: Create a Size Graphic
Example:
FINISHED SIZE
8 × 10 INCHES
Designed to print on:
8.5 × 11 paper
Step 51: Create a “How It Works” Graphic
Example:
1Purchase
2
Download
3
4
Celebrate
For personalized products:
1Order
2
Send Details
3
Receive Proof
4
Download / Receive
Step 52: Create a Printing Graphic
Possible copy:
PRINT AT HOME OR YOUR FAVORITE PRINT SHOP
Only claim printing options you have reasonably tested or verified.
Step 53: Choose One Sales Channel
Examples:
☐ Etsy☐ Website
☐ Local
☐ Event planner partnerships
☐ Other
My Channel
Step 54: Create the Order Process
For fixed digital products:
Order → Download → Print
For personalized:
Order → Submit Details → Proof → Approval → Final File
For physical:
Order → Customize → Print → Finish → Package → Deliver
My Workflow
Step 55: Create the Personalization Form
Collect only necessary information.
Possible:
☐ Name☐ Age
☐ Date
☐ Time
☐ Location
☐ Event
☐ Colors
☐ Wording
☐ Other
Step 56: Create the Proof Process
If customized:
☐ Create proof☐ Send proof
☐ Customer checks spelling
☐ Customer checks event details
☐ Customer approves
☐ Final file created
Step 57: Create Customer Approval Language
Example:
Please review names, dates, times, addresses, spelling, and wording carefully. Reply APPROVED when everything is correct.
Step 58: Create a Revision Policy
Decide:
How many revisions are included?
What qualifies as a revision?
What happens after approval?
What happens if the customer changes the event details?
My Process
Step 59: Create a Turnaround Time
Standard
Personalized
Physical Product
Only promise timing you can consistently meet.
Step 60: Create a Rush Option
Rush Available?
☐ Yes☐ No
Rush Fee
$________________
Minimum Time
Step 61: Create the Final Quality-Control Checklist
Before delivery:
☐ Correct customer☐ Correct product
☐ Correct event
☐ Correct name
☐ Correct date
☐ Correct time
☐ Correct location
☐ Correct wording
☐ Correct size
☐ Correct file type
☐ File opens
☐ Printable tested
☐ Design aligned
☐ No spelling errors
☐ Customer approval recorded when needed
Step 62: Test the Customer Download
If digital:
☐ Link works☐ File downloads
☐ File opens
☐ File name makes sense
☐ Instructions included
☐ Mobile access reviewed
Step 63: Test the Physical Packaging
If physical:
☐ Product protected☐ Product fits package
☐ Corners protected if necessary
☐ Moisture protection considered
☐ Shipping label works
☐ Product arrives presentation-ready
Step 64: Offer Local Event Packages
Once one product works, potential opportunities may include:
Birthday packages
Shower packages
Graduation packages
Sports banquet packages
Business event packages
But do not build them yet.
Start with PP-001.
Step 65: Consider Personalized Upsells
Possible later:
Custom names
Custom colors
Matching signs
Matching favor tags
Matching games
Matching invitations
Rush service
Step 66: Consider Bundles Later
Example:
Baby Shower Mini Bundle
Welcome sign
Baby bingo
Food labels
Favor tags
One working product can become a bundle later.
Step 67: Create a Product Code
Suggested:
PP-001Product Code
Step 68: Create Your File-Naming System
Examples:
PP-001-MASTERPP-001-PRINT-PDF
PP-001-PRINT-JPG
PP-001-INSTRUCTIONS
PP-001-ORDER-1001-SMITH
Step 69: Save Customer Versions Separately
Do not overwrite PP-001-MASTER.
Use:
PP-001-ORDER-[ORDER NUMBER]-[CUSTOMER]Step 70: Track Orders
OrderProductPersonalizationStatusDelivery
Step 71: Track Customer Questions
Write down every repeated question.
Examples:
Can I change colors?
Can I change the wording?
What size is it?
Can I print at Walgreens?
Can I print this at home?
Is Canva required?
Is this editable?
Do you print it for me?
Repeated questions become listing improvements.
Step 72: Track Printing Problems
Possible:
Wrong scaleIncorrect margins
Low resolution
Customer printed wrong file
Wrong paper
Colors look different
Crop marks confusing
Bleed incorrect
Problem
Fix
Step 73: Track Personalization Errors
ErrorCauseCostPrevention
Examples:
Name typo
Wrong date
Wrong address
Customer changed details
Old file used
Wrong order file
Step 74: Protect Customer Information
Only collect what you need.
Avoid unnecessarily sharing:
Home addresses
Children's full personal information
Phone numbers
Private event details
Customer files
Step 75: Review Template Sharing Settings
If using an editable template:
☐ Customer receives the correct link.☐ Master cannot accidentally be overwritten.
☐ Access permissions are correct.
☐ Private customer designs are not exposed.
☐ Test account verified access.
Step 76: Review Platform Rules
Before selling, verify current rules for:
Digital products
Editable templates
Handmade products
Production partners
Personalization
Returns
Refunds
Commercial licenses
Policies change.
Step 77: Track Your First $500 in Gross Sales
Examples:
$5 printable
100 sales = $500 gross
$10 printable
50 sales = $500 gross
$15 personalized printable
34 sales = $510 gross
$25 physical party sign
20 sales = $500 gross
Gross sales are not the same as profit.
Step 78: Look for Repeatability
Ask:
☐ Can I reuse the layout?☐ Can I change colors easily?
☐ Can I personalize quickly?
☐ Can I reuse instructions?
☐ Can I reuse product photos?
☐ Can I create matching products later?
Step 79: Do Not Build the Entire Collection Yet
Before Product #2:
☐ PP-001 is complete.☐ PP-001 prints correctly.
☐ Instructions work.
☐ Delivery works.
☐ Customer questions are manageable.
☐ Pricing makes sense.
Step 80: Complete the Party Printable Win
You should now have:
☐ One event☐ One audience
☐ One problem
☐ One printable
☐ One finished size
☐ One design
☐ Verified design rights
☐ Exact wording
☐ Tested typography
☐ Tested colors
☐ Master file
☐ Customer file
☐ Physical print test
☐ Cutting tested if applicable
☐ Assembly tested if applicable
☐ Printing instructions
☐ Final delivery files
☐ Direct costs
☐ Selling price
☐ Listing
☐ Product photos
☐ Order process
☐ Proof process if needed
☐ Quality-control checklist
☐ Product offered for sale
Common Party Printable Mistakes
Creating an Entire Collection First
Start with one product.
Designing Only for the Screen
Print it.
Paper changes everything.
Using Tiny Text
Party materials need to be readable in the environment where they will be used.
Guessing Print Sizes
Create for a specific finished size.
Using Copyrighted Characters
Popular does not mean licensed.
Forgetting Licensing on Fonts and Graphics
Review asset rights before selling.
Confusing Customers About Editable vs. Printable
Be explicit.
Not Explaining Printing
Customers may not know:
Which file to print
What paper to choose
What size
Whether to select “Actual Size”
Give them instructions.
Over-Personalizing
If every customer requires 30 minutes of manual design work, you may have created a service rather than a scalable printable.
That can still make money.
Price accordingly.
Not Proofreading
Party products often contain:
Names
Dates
Locations
One typo can ruin the entire product.
Make It Easier With AI
AI can help you:
Brainstorm party printable ideas
Create party-game concepts
Write instructions
Improve wording
Proofread
Create product descriptions
Generate FAQs
Write personalization forms
Create customer messages
Create printing instructions
Develop bundle ideas
Analyze customer questions
But verify:
Facts
Game answers
Names
Dates
Copyright
Trademark
Licensing
Print specifications
Party Printable AI Planning Prompt
Help me create one simple customer-ready party printable.Event:
[EVENT]
Audience:
[AUDIENCE]
Problem:
[PROBLEM]
Printable:
[PRODUCT]
Finished size:
[SIZE]
Design style:
[STYLE]
Colors:
[COLORS]
Fonts:
[FONTS]
Graphics:
[GRAPHICS]
Editable:
[YES / NO]
Personalized:
[YES / NO]
Printing method:
Party Printable Challenge
☐ Choose one event.☐ Choose one audience.
☐ Identify one party need.
☐ Create one printable.
☐ Choose the finished size.
☐ Choose fixed, personalized, or editable.
☐ Create original copy.
☐ Review font rights.
☐ Review graphic rights.
☐ Avoid protected themes.
☐ Create PP-001.
☐ Create the master file.
☐ Physically print the product.
☐ Review readability.
☐ Review color.
☐ Test cutting if needed.
☐ Test assembly if needed.
☐ Proofread every word.
☐ Create printing instructions.
☐ Test editable access if applicable.
☐ Create final customer files.
☐ Calculate costs.
☐ Choose a price.
☐ Create product photos.
☐ Create the listing.
☐ Create an order process.
☐ Create a proof process if needed.
☐ Create quality control.
☐ Test delivery.
☐ Offer PP-001 for sale.
Your Next Action
Complete this sentence:
I am creating a __________________________ for a __________________________ event to help __________________________.
Then assign it:
PP-001
And create one real printed sample.
That is your first step toward earning the Party Printable badge.


